What do you mean my ID's no good?
Congratulations - you've got the certificate. With it, you can encrypt and digitally sign files uploaded by your browser or sent by your email program. The recipient of the file will be able to verify that you are who you say you are and know that Verisign vouches for you.
While I'm sure that sounds terribly thrilling, it's not something we care about right now. Instead, we want to programmatically communicate with the INS SEVIS batch server without going through a browser or an email client. To do that, we'll have to export the certificate stored in Internet Explorer's browser certificate vault, and convert it to the format understandable by our upload program.
In Internet Explorer, select the menu option Tools->Internet Options->Content->Certificates, highlight your new Verisign certificate and click Export.
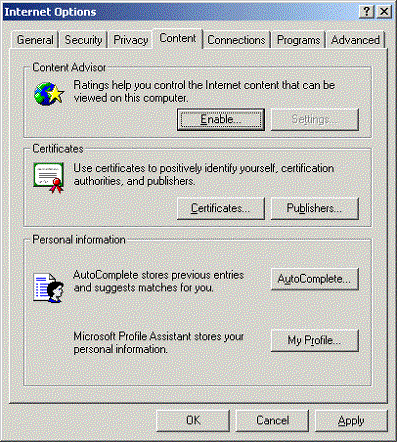
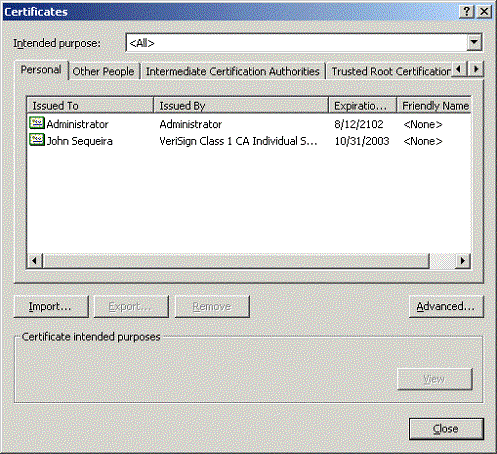
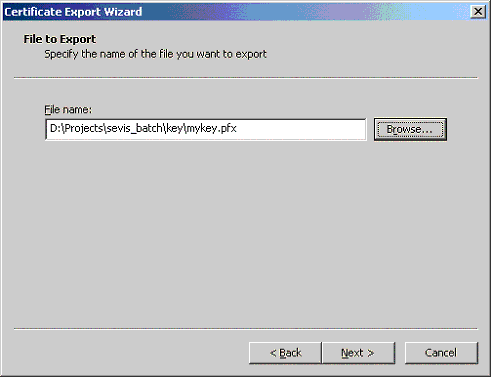
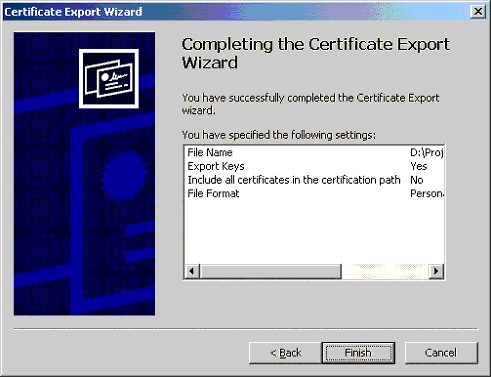
Proceed through the export wizard, as shown in the screenshots below.


Make sure you export it in the "Personal Information Exchange" .pfx format, and don't forget your password.


We'll be encrypting the files we send to SEVIS with a free software called openssl, and it needs a certificate in the .pem format. The next step therefore is to install and use our trusty free encryption utility openssl to convert our certificate into the right format. There are many ways to get openssl, depending on whether you're using Windows or Unix. We'll assume you've got it installed and working, but check out Appendix A if you need some advice.
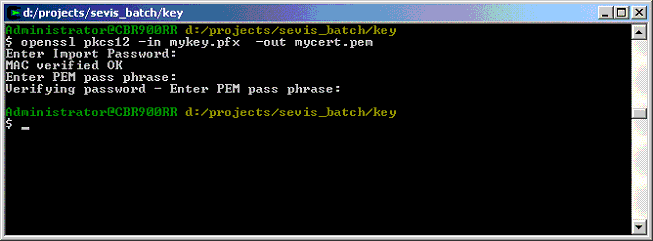
Okay, now that you have openssl installed, the command you want to execute is :
openssl pkcs12 -in mykey.pfx -out mycert.pem
For the Import password, use the password you chose when exporting the file from IE. You'll also need to add a pass phrase to the PEM file. I just used the same phrase for convenience.
